


Your Personal AI Assistant; easy to install, deploy on your own machine or on the cloud; supports multiple chat apps with easily extensible capabilities.
Core capabilities:
Every channel — DingTalk, Feishu, QQ, Discord, iMessage, and more. One assistant, connect as you need.
Under your control — Memory and personalization under your control. Deploy locally or in the cloud; scheduled reminders to any channel.
Skills — Built-in cron; custom skills in your workspace, auto-loaded. No lock-in.
What you can do
- Social: daily digest of hot posts (Xiaohongshu, Zhihu, Reddit), Bilibili/YouTube summaries.
- Productivity: newsletter digests to DingTalk/Feishu/QQ, contacts from email/calendar.
- Creative: describe your goal, run overnight, get a draft next day.
- Research: track tech/AI news, personal knowledge base.
- Desktop: organize files, read/summarize docs, request files in chat.
- Explore: combine Skills and cron into your own agentic app.
Recommended reading:
- I want to run CoPaw in 3 commands: Quick Start → open Console in browser.
- I want to chat in DingTalk / Feishu / QQ: Quick Start → Channels.
- I don’t want to install Python: One-line install handles Python automatically, or use ModelScope one-click for cloud.
- Quick Start
- API Key
- Local Models
- Fork-specific changes
- Documentation
- Install from source
- Why CoPaw?
- Built by
- License
If you prefer managing Python yourself:
pip install copaw
copaw init --defaults
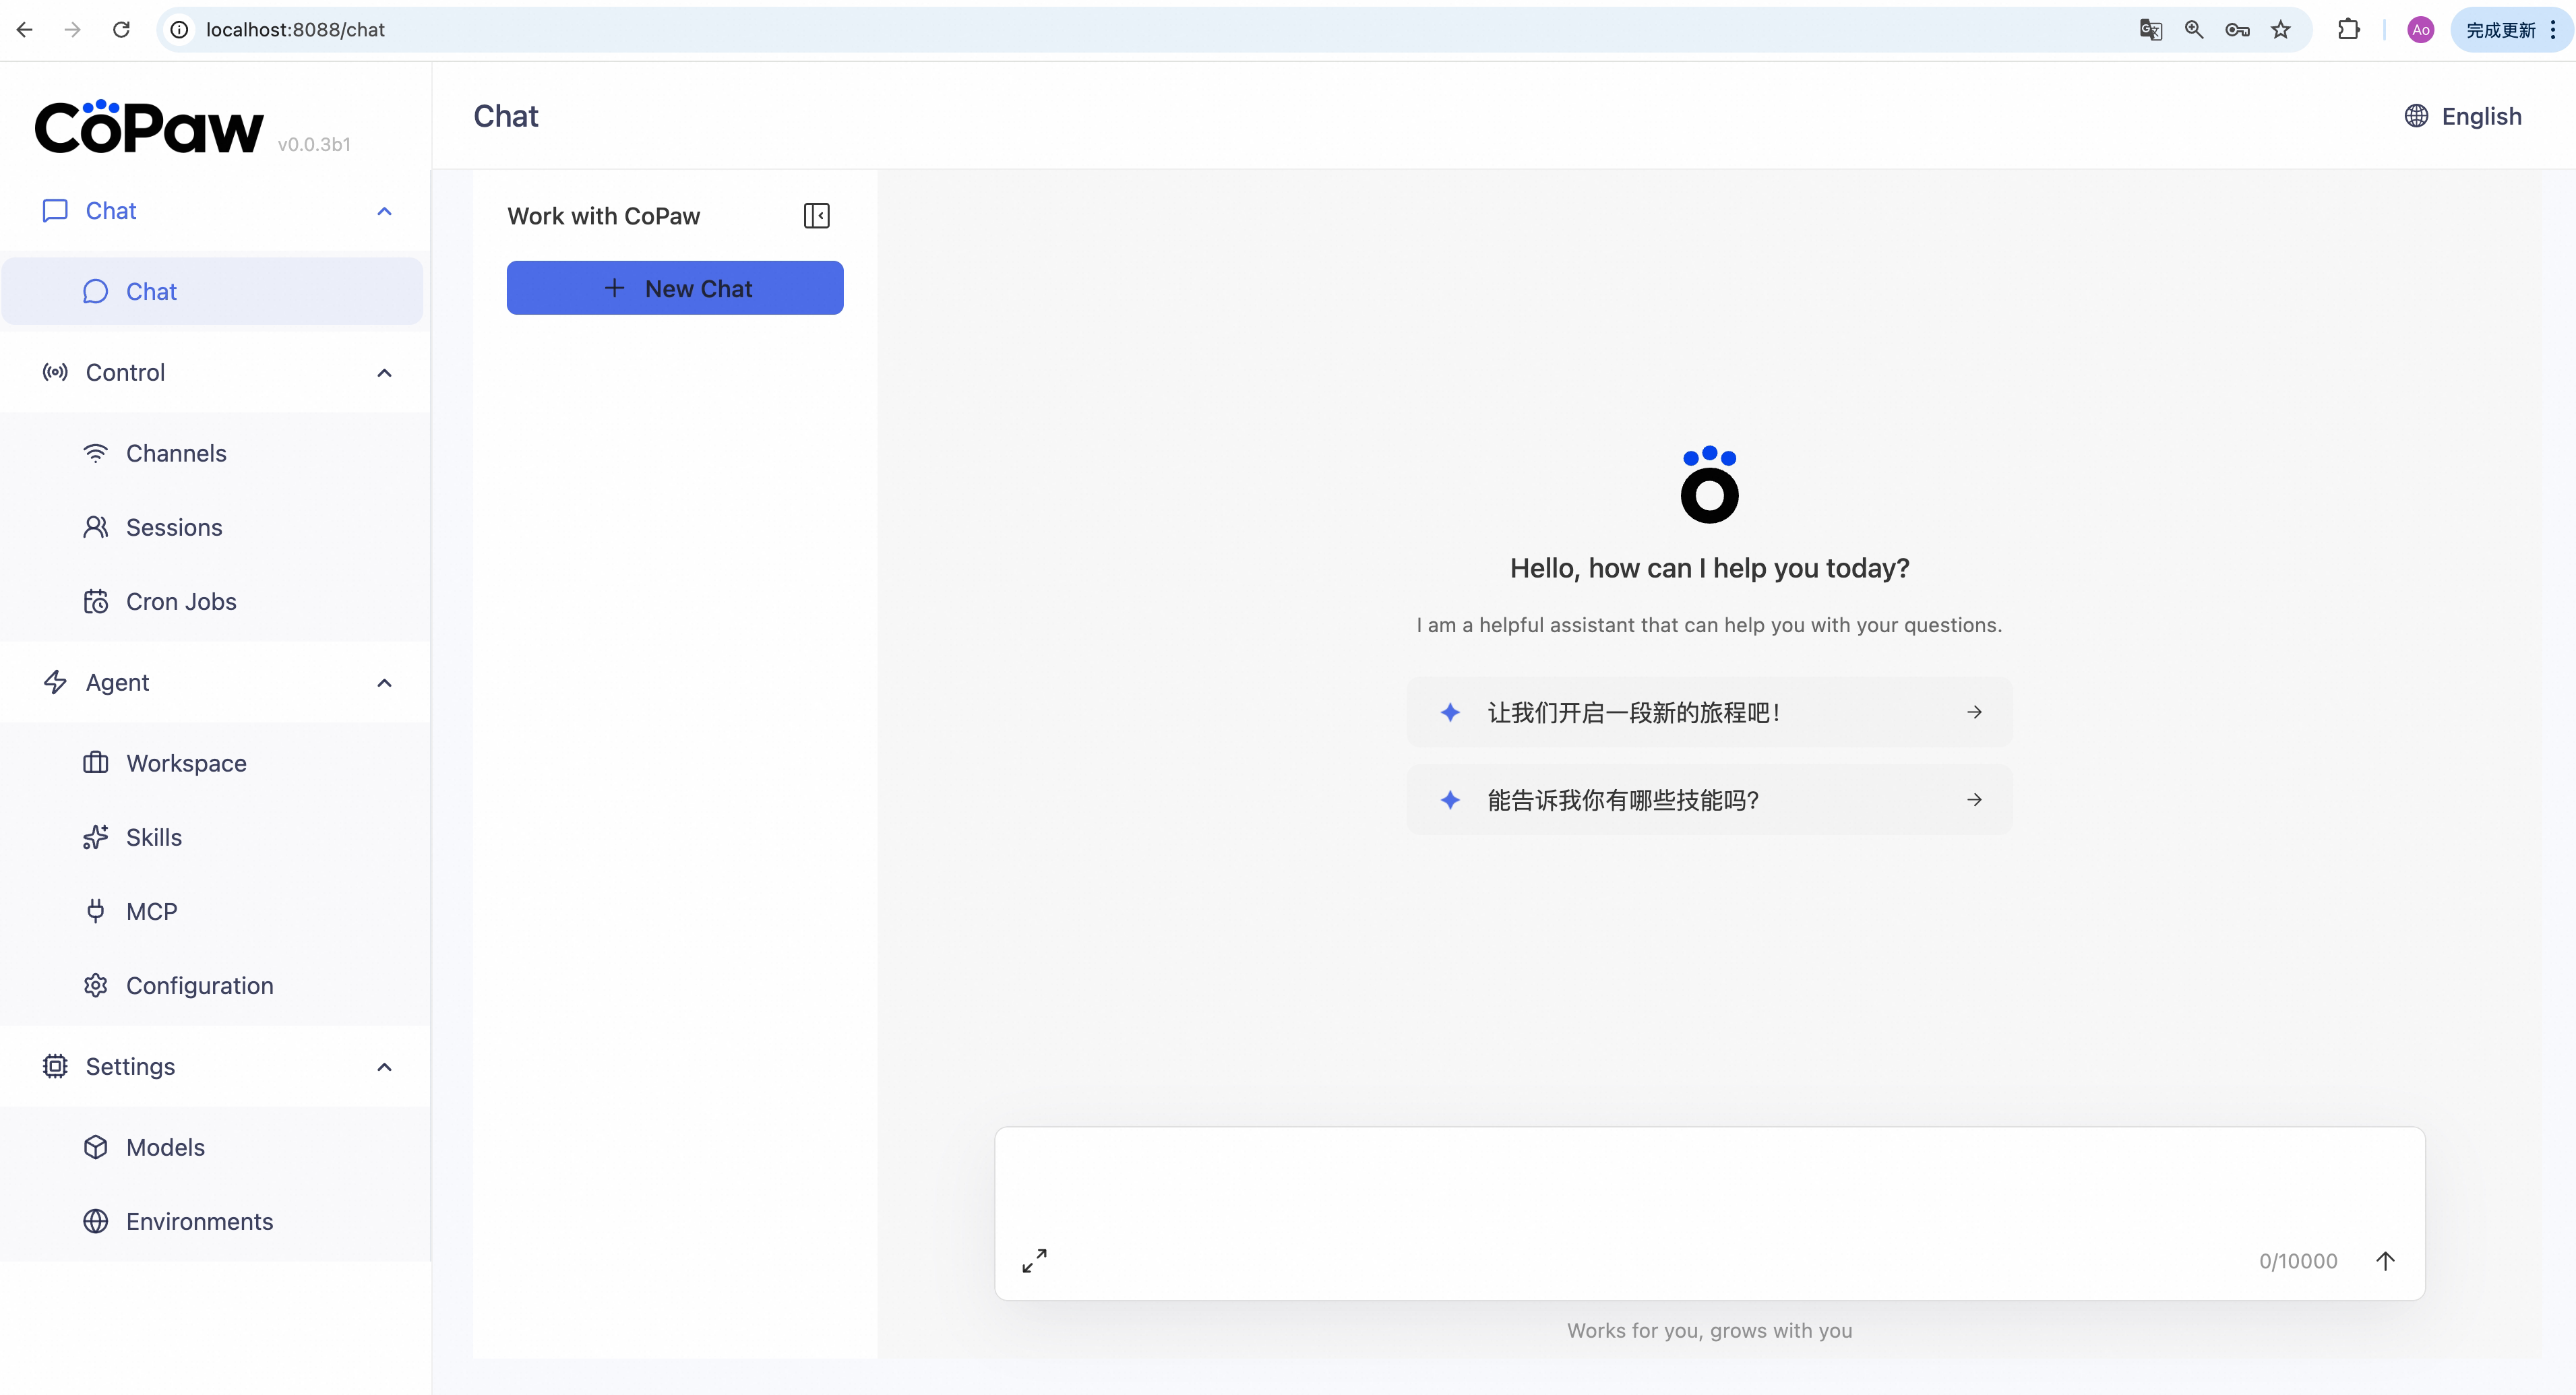
copaw appThen open http://127.0.0.1:8088/ in your browser for the Console (chat with CoPaw, configure the agent). To talk in DingTalk, Feishu, QQ, etc., add a channel in the docs.
No Python required — the installer handles everything:
macOS / Linux:
curl -fsSL https://copaw.agentscope.io/install.sh | bashWindows (PowerShell):
irm https://copaw.agentscope.io/install.ps1 | iexThen open a new terminal and run:
copaw init --defaults   # or: copaw init (interactive)
copaw app
Install options
macOS / Linux:
# Install a specific version
curl -fsSL ... | bash -s -- --version 0.0.2

# Install from source (dev/testing)
curl -fsSL ... | bash -s -- --from-source

# Install from your fork repository
curl -fsSL ... | bash -s -- --from-source --repo https://github.com/<you>/CoPaw.git
COPAW_REPO=https://github.com/<you>/CoPaw.git curl -fsSL ... | bash -s -- --from-source

# With local model support
bash install.sh --extras llamacpp    # llama.cpp (cross-platform)
bash install.sh --extras mlx         # MLX (Apple Silicon)
bash install.sh --extras llamacpp,mlx

# Upgrade — just re-run the installer
curl -fsSL ... | bash

# Uninstall
copaw uninstall          # keeps config and data
copaw uninstall --purge  # removes everything
Windows (PowerShell):
# Install a specific version
irm ... | iex; .\install.ps1 -Version 0.0.2

# Install from source (dev/testing)
.\install.ps1 -FromSource

# Install from your fork repository
.\install.ps1 -FromSource -Repo https://github.com/<you>/CoPaw.git
$env:COPAW_REPO="https://github.com/<you>/CoPaw.git"; .\install.ps1 -FromSource

# With local model support
.\install.ps1 -Extras llamacpp      # llama.cpp (cross-platform)
.\install.ps1 -Extras mlx           # MLX
.\install.ps1 -Extras llamacpp,mlx

# Upgrade — just re-run the installer
irm ... | iex

# Uninstall
copaw uninstall          # keeps config and data
copaw uninstall --purge # removes everythingdocker pull agentscope/copaw:latest
docker run -p 8088:8088 -v copaw-data:/app/working agentscope/copaw:latestThen open http://127.0.0.1:8088/ for the Console. Config, memory, and skills are stored in the copaw-data volume. To pass API keys (e.g. DASHSCOPE_API_KEY), add -e VAR=value or --env-file .env to docker run.
The image is built from scratch. To build the image yourself, please refer to the Build Docker image section in scripts/README.md, and then push to your registry.
No local install? ModelScope Studio one-click cloud setup. Set your Studio to non-public so others cannot control your CoPaw.
To run CoPaw on Alibaba Cloud (ACK), use the one-click deployment: open the CoPaw on Alibaba Cloud (ACK) deployment link and follow the prompts. For step-by-step instructions, see Alibaba Cloud Developer: Deploy your AI assistant in 3 minutes.
If you use a cloud LLM (e.g. DashScope, ModelScope), you must set an API key before chatting. CoPaw will not work until a valid key is configured.
Where to set it:
copaw init— When you runcopaw init, the command has a step to configure the LLM provider and API key. Follow the prompts to choose a provider and enter your key.- Console — After
copaw app, open http://127.0.0.1:8088/ → Settings → Models. Select a provider, fill in the API Key field, then activate that provider and model. - Environment variable — For DashScope you can set
DASHSCOPE_API_KEYin your shell or in a.envfile in the working directory.
Tools that need extra keys (e.g. TAVILY_API_KEY for web search) can be set in Console Settings → Environment variables, or see Config for details.
Using local models only? If you use Local Models (llama.cpp or MLX), you do not need any API key.
CoPaw supports a text model slot (LLM) and a vision model slot (VLM).
- Text-only requests use the active
LLM. - Requests containing image blocks use
LLMwhen it supports vision. - If the active
LLMdoes not support vision, CoPaw routes the turn toVLMand then tries configuredVLMfallbacks.
CLI helpers:
copaw models set-llm
copaw models set-vlm
copaw models set-vlm-fallbacks
copaw models list
Optional overrides for capability heuristics:
COPAW_VISION_MODELS: comma-separated model ids forced to vision-capableCOPAW_NON_VISION_MODELS: comma-separated model ids forced to non-vision
Vision prepass attachment policy:
COPAW_VISION_ATTACHMENTS_MODE:first(default) orallCOPAW_VISION_MAX_IMAGES: max images when mode isall(default4)
If you add custom models, you can mark them as vision-capable:
copaw models add-model <provider_id> -m <model_id> -n <display_name> --visionThis fork keeps upstream CoPaw behavior as the baseline, and extends multimodal handling in a backward-compatible way.
- Media prepass expanded: prepass is no longer image-only; it now supports image / audio / video inputs with per-capability settings.
- VLM fallback chain in all surfaces: fallback list is configurable from WebUI, CLI, and API instead of being limited to one workflow.
- New vision settings endpoints: API supports separate updates for
vision.image,vision.audio, andvision.video(used by the Console models page). - CLI additions: new commands for multimodal settings:
copaw models set-vision-audiocopaw models set-vision-videocopaw models listnow shows all vision/media prepass settings.
- Capability routing generalized: model capability detection and prepass routing were refactored from vision-only checks to generic input capability checks (
image,audio,video). - Compatibility preserved: existing single-vision env overrides and behavior remain supported for users migrating from upstream defaults.
CoPaw can run LLMs entirely on your machine — no API keys or cloud services required.
| Backend | Best for | Install |
|---|---|---|
| llama.cpp | Cross-platform (macOS / Linux / Windows) | pip install 'copaw[llamacpp]' |
| MLX | Apple Silicon Macs (M1/M2/M3/M4) | pip install 'copaw[mlx]' |
After installing, download a model and start chatting:
copaw models download Qwen/Qwen3-4B-GGUF
copaw models # select the downloaded model
copaw app # start the server
You can also download and manage local models from the Console UI.
| Topic | Description |
|---|---|
| Introduction | What CoPaw is and how you use it |
| Quick start | Install and run (local or ModelScope Studio) |
| Console | Web UI for chat and agent config |
| Channels | DingTalk, Feishu, QQ, Discord, iMessage, and more |
| Heartbeat | Scheduled check-in or digest |
| Local Models | Run models locally with llama.cpp or MLX |
| CLI | Init, cron jobs, skills, clean |
| Skills | Extend and customize capabilities |
| FAQ | Common questions and troubleshooting tips |
| Memory | Context management and long-term memory |
| Config | Working directory and config file |
Full docs in this repo: website/public/docs/.
git clone https://github.com/agentscope-ai/CoPaw.git
cd CoPaw
pip install -e .
For forks, replace the clone URL with your own repository.
- Dev (tests, formatting):
pip install -e ".[dev]" - Console (build frontend):
cd console && npm ci && npm run build, thencopaw appfrom project root.
CoPaw represents both a Co Personal Agent Workstation and a "co-paw"—a partner always by your side. More than just a cold tool, CoPaw is a warm "little paw" always ready to lend a hand (or a paw!). It is the ultimate teammate for your digital life.
AgentScope team · AgentScope · AgentScope Runtime · ReMe
CoPaw is released under the Apache License 2.0.